はじめに
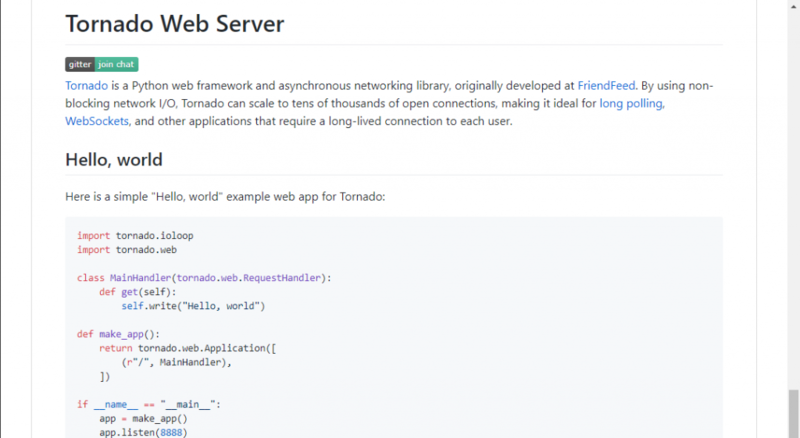
前回に引き続き、PythonでWebAPIを作ります。今回はフレームワークにTornadoを使いました。Tornadoも軽量なフレームワークですが、前回のfalconよりはリッチな機能があります。Python x 深層学習を使った画像処理技術がWebAPIでどんどん公開されることを期待しつつ、今回も記事を投稿します。もちろん、Apitoreに相談していただいてもOKです(ステマ)。

ソースコード
下準備
以下のライブラリをインストールします。なお、今回はkeras + tensorflowで画像処理をすることを前提としていますが、そちらのインストールについては割愛します。Pythonは2.x系を使いましたが、3.x系でもイケると思います。
$ pip install tornado
実装
今回も前回同様kerasを使った画像認識をWebAPIにします。画像認識のプログラムは前回同様こちらの「VGG16のFine-tuningによる17種類の花の分類」のソースコードを使わせていただきます。
シンプルな実装を以下に示します。名前はdebug_tornado.pyとします。
# coding:utf-8
import io
import os
import sys
from keras.applications.vgg16 import VGG16
from keras.models import Sequential, Model
from keras.layers import Input, Activation, Dropout, Flatten, Dense
import numpy as np
from datetime import date
from PIL import Image
import tornado.escape
import tornado.ioloop
import tornado.web
class PostDebugHandler(tornado.web.RequestHandler):
    def post(self):
        data = self.request.files['file'][0]['body']
        pilimg = Image.open(io.BytesIO(data))
        # 画像を読み込んで4次元テンソルへ変換
        x = np.expand_dims(x, axis=0)
        # 学習時にImageDataGeneratorのrescaleで正規化したので同じ処理が必要!
        # これを忘れると結果がおかしくなるので注意
        x = x / 255.0
        # クラスを予測
        # 入力は1枚の画像なので[0]のみ
        pred = model.predict(x)[0]
        # 予測確率が高いトップ5を出力
        top = 5
        top_indices = pred.argsort()[-top:][::-1]
        result = classes[top_indices[0]]
        # 予測確率が高いトップ1を出力
        self.write({"result":result})
# 画像認識のイニシャライズ
result_dir = 'results'
classes = ['Tulip', 'Snowdrop', 'LilyValley', 'Bluebell', 'Crocus',
           'Iris', 'Tigerlily', 'Daffodil', 'Fritillary', 'Sunflower',
           'Daisy', 'ColtsFoot', 'Dandelion', 'Cowslip', 'Buttercup',
           'Windflower', 'Pansy']
nb_classes = len(classes)
img_height, img_width = 150, 150
channels = 3
# VGG16
input_tensor = Input(shape=(img_height, img_width, channels))
vgg16 = VGG16(include_top=False, weights='imagenet', input_tensor=input_tensor)
# FC
fc = Sequential()
fc.add(Flatten(input_shape=vgg16.output_shape[1:]))
fc.add(Dense(256, activation='relu'))
fc.add(Dropout(0.5))
fc.add(Dense(nb_classes, activation='softmax'))
# VGG16とFCを接続
model = Model(input=vgg16.input, output=fc(vgg16.output))
# 学習済みの重みをロード
model.load_weights(os.path.join(result_dir, 'finetuning.h5'))
model.compile(loss='categorical_crossentropy',
              optimizer='adam',
              metrics=['accuracy'])
# WebAPIの起動
application = tornado.web.Application([
    (r"/debug", PostDebugHandler)
])
if __name__ == "__main__":
    application.listen(5000)
    tornado.ioloop.IOLoop.instance().start()
起動
以下のコマンドを実行します。
$ python debug_tornado.py
APIを使ってみる
以下のコマンドを実行します。
$ curl -X POST http://127.0.0.1:5000/debug -H "Content-Type: multipart/form-data" -F "file=@hoge.jpg"
おわりに
今回は前回とは別のやり方(falcon -> tornado)でWebAPIを作ってみました。tornadoの方がシンプルに書けますね。お役に立てば幸いです。